Monday, March 31, 2014

You Make Me Happy - Another Card Buffet Sample

Hi there and happy Monday!  Hope you enjoyed your weekend.  Mine was good.  Today the sun is shining with a forecast of temperatures in the low 70's and that's good too!  Speaking of sunshine, the "rays" on the above card were punched out with a new Triangle Punch appearing in the 2014 Stampin' Up! Occasions Catalog.  There are numerous cards on the internet using the banner punch for the "rays", as well as Patty Bennett's card.  I was inspired by Patty's card seen here (scroll down to Jan 14 post) to use the Word Bubbles Framelits for clouds.  Cool idea, huh?  The sentiment is from See Ya Later, a Sale-A-Bration freebie.  I'll miss this stamp set.  Maybe it will appear in the new catalog in June. 
Remember, today is the LAST day for Sale-A-Bration and to purchase the "Best of" stamp sets!  Please contact me (by clicking on the catalog icons or my photo in the right side bar) if you woul like to place an order. 

That's it for now - time to tackle the to-do list.  Thank you so much for stopping by today!

All Stampin' Up! supplies used unless otherwise noted. 
Stamps: See Ya Later (SAB freebie) 
Paper: Daffodil Delight, Pumpkin Pie, Smoky Slate, White, Polka Dot Parade DSP 
Ink: Basic Gray marker 
Tools:  Triangle punch, 1-3/4” Circle punch, Word Bubbles Framelits, Square Lattice embossing folder 
Other:  Rhinestones (med), Dimensionals


Thursday, March 27, 2014

Here for You

Hi there!  I'm finally back after a whirlwind trip to FL for our daughter's wedding on the beach March 14th and then the reception here March 22nd.  Our son-in-law's family is a lot of fun.  What a great time!  It was so good to connect with family and friends at the reception, too! 
My oldest daughter was here from Miami and our son's daughter spent a couple of days with us during her Spring break.  It's been pretty much non-stop "on the go".  Tuesday we (daughter & g'daughter) went to Fitz's (in the Loop) for lunch, then the History Museum in Forest Park.  It's been years since I've been to the History Museum.  They have added some really great exhibits - even interactive ones.  The granddaughter loved it.  It was also a great way for the granddaughter to spend time with her "Aunt from Miami".  Everyone is home now and life is getting back to normal. 
So with that said, let's get to the card.  This card is showcasing a couple of Sale-A-Bration freebies -  You're Lovely stamp set and Sweet Sorbet Designer Series Paper.  Customers were able to make this card at our February and March Card Buffets.  Inspiration came from Dawn Olchefke's card here (Jan 25th post), except that I used a different orientation and pattern of the Sweet Sorbet DSP to make it my own.  I also used pearls (colored with a black Sharpie) instead of rhinestones for the center of the flowers.
Must run to prepare for our April Card Buffet.  I'm way behind!  Thank you so much for stopping in today!

All Stampin' Up! supplies used unless otherwise noted. 
Stamps: You’re Lovely (SAB freebie), Petite Pairs (sentiment) 
Paper: Black, Pool Party, White, Sweet Sorbet DSP (SAB freebie) 
Ink: Black StazOn, Pool Party marker,  Pistachio Pudding marker, Black Sharpie (non-SU) 
Tools:  Deco Labels Framelits, Boho punch 
Other:  Pearls, Dimensionals


Wednesday, March 19, 2014

Lucky Shamrock

Hi there!  Hope everyone enjoyed St. Patrick's Day.  I had planned to share this card Monday but was too tired to post anything.  Our daughter got married Friday on a beach in Florida.  Everything went smoothly and the ceremony was very nice.  Of course, our daughter looked beautiful!  It all went so quickly - seems rather surreal.  We had a wonderful time and came back Monday evening to the COLD.  Back to reality!  But you didn't come here for all that, so let's get to the card.  It is another sample from our Card Buffet line-up.  The Pansy punch was used to make the "shamrock".  Cut out one of the petals and add some pen work to add some definition.  Cool, huh?  I was inspired by Barbara Meyer's projects seen here (scroll down to Jan 4, 2014).  Her blog is in German but you get the idea.  She used the coordinating Flower Shop stamp set but I preferred to just punch out the flower without stamping it.  The stem was just a sliver of cardstock.  Scored lines around the perimeter of the background panel adds some interest.  A very clean and simple card.

The wedding reception is this weekend so our St Louis family and friends can congratulate and celebrate the marriage of the happy couple!  Looking forward to the party!  Therefore, posting may be sporadic the rest of this week and next.  I'll be busy with out of town guests, prepping for our April Card Buffet, and doing some fun things with our granddaughter during her Spring break next week. 
Hope you have a great weekend (just in case) and thank you for stopping by!  

All Stampin' Up! supplies used unless otherwise noted. 
Stamps: Teeny Tiny Wishes 
Paper: Garden Green, White, Wild Wasabi 
Ink: Garden Green, Wild Wasabi ink pad and marker 
Tools:  Pansy Punch, Scoring Tool, snips 
Other:  sponges


Friday, March 14, 2014

Another Upright Diamond Fold

Hi there!  I'm back today with another Upright Diamond Fold card.  This one uses the Kaleidoscope Designer Series Paper - same as yesterday's card.  In fact, everything is the same except a slight change in patterns and colors.  Here is the open view.


Click on this link if you would like directions to make a card of your own.  If for some reason you have trouble with the link, go to www.splitcoaststampers.com.  Click on  "tutorials" and do a search for upright diamond fold card. 

Hope you have a great weekend and thank you for stopping in today!


Thursday, March 13, 2014

Upright Diamond Fold

Hi there!  Today I have a fancy fold for you.  This was a make n take project from the girls getaway retreat back in January that I forgot to share.  Cheryl Renth had the kits ready for us, so I don't have measurements.  Here is a link to Splitcoaststampers for directionsKaleidoscope Designer Series Paper by Stampin' Up! was used on the above sample.  A sentiment from Peachy Keen was stamped onto a banner and secured to some 3/4" Chevron ribbon to make a belly band.  Below is the open view. 
This card will not fit in a standard A2 size envelope since it measures 3-1/2" x 6-1/4".  You could use a legal size envelope - with room to spare.  Pretty cool, huh?  Come back tomorrow for another version.

That's it for now.  Thank you for dropping by today!


Wednesday, March 12, 2014

Firetruck Punch Art

Hi there and happy hump day!  A quick post today featuring this punch art firetruck, which was a customer request for our Card Buffet.  I found a firetruck done by Christine Gaydos on our Demonstrator only web site as my inspiration.  Sorry I can't share that with you and she doesn't have a blog.  (Become a Stampin' Up! Demonstrator, then you'll have access!)  The inside of the card was "stampers choice".   I made a template for the ladies to use to outline the door with a black marker.  A piece of vellum punched from the Hexagon punch, then cut in half made the "windshield".  Trim the other half to make the door "window".  A white chalk pen was used to add lines to the vellum "windows".  A little tip - when punching out vellum or DSP, use a piece of scrap cardstock underneath the vellum.  The cardstock will keep the vellum from getting stuck in the punch.

Must get going.  Thanks for stopping by for a visit today!  You're visits are always welcome!

All Stampin' Up! supplies used unless otherwise noted.


Paper: White, Real Red, So Saffron, Metallic Silver (non-SU), Vellum, Black, Gray
Ink: Black marker, White chalk marker
Tools:  Envelope Punch Board (EPB), Hexagon punch, circle punches, Small Oval punch, Word Window punch, scissors
Inspiration: Christine Gaydos on Stampin’ Connection September 27, 2012


Tuesday, March 11, 2014

Foxy Birthday

Hi there!  Back today with another sample from our Card Buffet made with the Life in the Forest set found in the 2014 Stampin' Up! Occasions Catalog.  I'm loving this set!  The images can be used to make cute, whimsical cards (or scrapbook pages).  And how about that sentiment?!  It's from the Just Sayin' stamp set and cut out with the coordinating Word Bubbles Framelits, which can also found in the Occasions Catalog.  You can buy them separately or as a bundle.  Buy the bundle and save yourself some moolah!  Just sayin'..... 

Have a great day and thank you for stopping in for a visit today!


All Stampin' Up! supplies used unless otherwise noted. 
Stamps: Life in the Forest, Just Sayin’ (sentiment - You’re How Old?) 
Paper: Crumb Cake, Garden Green, Early Espresso, Vanilla 
Ink: Crumb Cake, Garden Green, Soft Suede, Soft Suede marker 
Tools:  Chevron embossing folder, Deco Labels Framelits, Word Bubbles Framelits, Circle Framelit (#5 from center), snips 
Other:  Dimensionals, sponges, clear blocks

Monday, March 10, 2014

It's All About the Gold

Hi there!  Hope you had a good weekend!  My to-do list is very long so let's move on to the card, shall we?  It is another Card Buffet selection using the beautiful Fancy Foil Designer Gold Vellum by Stampin' Up!, which can be found in the 2014 Occasions Catalog.  This could be a Valentine or anniversary card.  The ladies could also choose to use the "hi" sentiment from Regarding Dahlias.  My card is pretty much a CASE of Jodi Reinert's card here (Jan 4th post), except that I used a different sentiment and added some gold Washi tape.  Gold Baker's Twine was the finishing touch.  Love all these gold elements in the Occasions Catalog!  They come in Silver, too. 
Oh!  A hint for adhering the vellum if you aren't using Washi tape, is to put glue on the back of the gold dots. 

That's it for now.  Thanks for stopping in for a peek today!

All Stampin' Up! supplies used unless otherwise noted. 
Stamps: Perfect Pennants (sentiment – you & me)  OR use “hi” from Regarding Dahlias 
Paper: Vanilla, Fancy Foil Designer Gold Vellum (2014 Occasions Catalog – pg 23) 
Ink: Encore Gold 
Other: Gold Bakers Twine, gold Washi tape, clear block


Friday, March 7, 2014

Mosaic Madness

Hi there!  A quick post today with another Card Buffet selection.  This CAS (Clean And Simple) card showcases Stampin' Up!s Mosaic Madness stamp set and coordinating Mosaic punch.  The "celebrate" sentiment, as well as the "anniversary" sentiment on the inside, are from Express Yourself.  (This is a Hostess set that can be earned for free!  Contact me for details.)  Teeny Tiny Wishes has numerous sentiments that will also work.  Carrie Rhoades was the inspiration for my project.  You can see her card here.  I used the "celebrate" sentiment on the card front so that it could be used for various occasions by using an appropriate inside sentiment.

Must get going.  Have a great weekend and thanks so much for stopping in today!

All Stampin' Up! supplies used unless otherwise noted. 
Stamps: Mosaic Madness, Express Yourself (celebrate & happy anniversary) 
Paper: White
Ink: Crushed Curry, Smokey Slate 
Tools:  Mosaic punch, Bitty Banner Framelits 
Other:  Rhinestones (small), Dimensionals, clear blocks


Thursday, March 6, 2014

See Ya Later, Alligator

Hi there!  Hope you're having a good week.  We're having a bit of a warming trend here.  Tomorrow it's supposed to get up to 60!  Woo Hoo!  OK, enough about the weather.  This card cracks me up - just something about those 'gators.  I was inspired by Amanda Burditt's card to use the alligator image from Zoo Babies (click here and scroll down to Jan 6 to see her card) paired with the alligator from See Ya Later, a Stampin' Up! Sale-A-Bration freebie.  The Decorative Dots embossing folder (another freebie) was a natural choice, in my opinion, for some added texture.  Kind of reminds me of alligator skin.  Ha!  
You have until March 31st to take advantage of Sale-A-Bration.   If you need a Demonstrator, I'd be happy to help you!  Shoot me an email or call.  You can also place an on-line order here.  Thanks in advance!

Signing off for now.  Thank you for coming by for a visit today!


All Stampin' Up! supplies used unless otherwise noted. 
Stamps: Zoo Babies, See Ya Later 
Paper: Gumball Green, White 
Ink: Gumball Green 
Tools:  Circle Framelits, Decorative Dots embossing folder (2014 SAB freebie) 
Other: Dimensionals


Wednesday, March 5, 2014

Cheer Up, Buttercup!

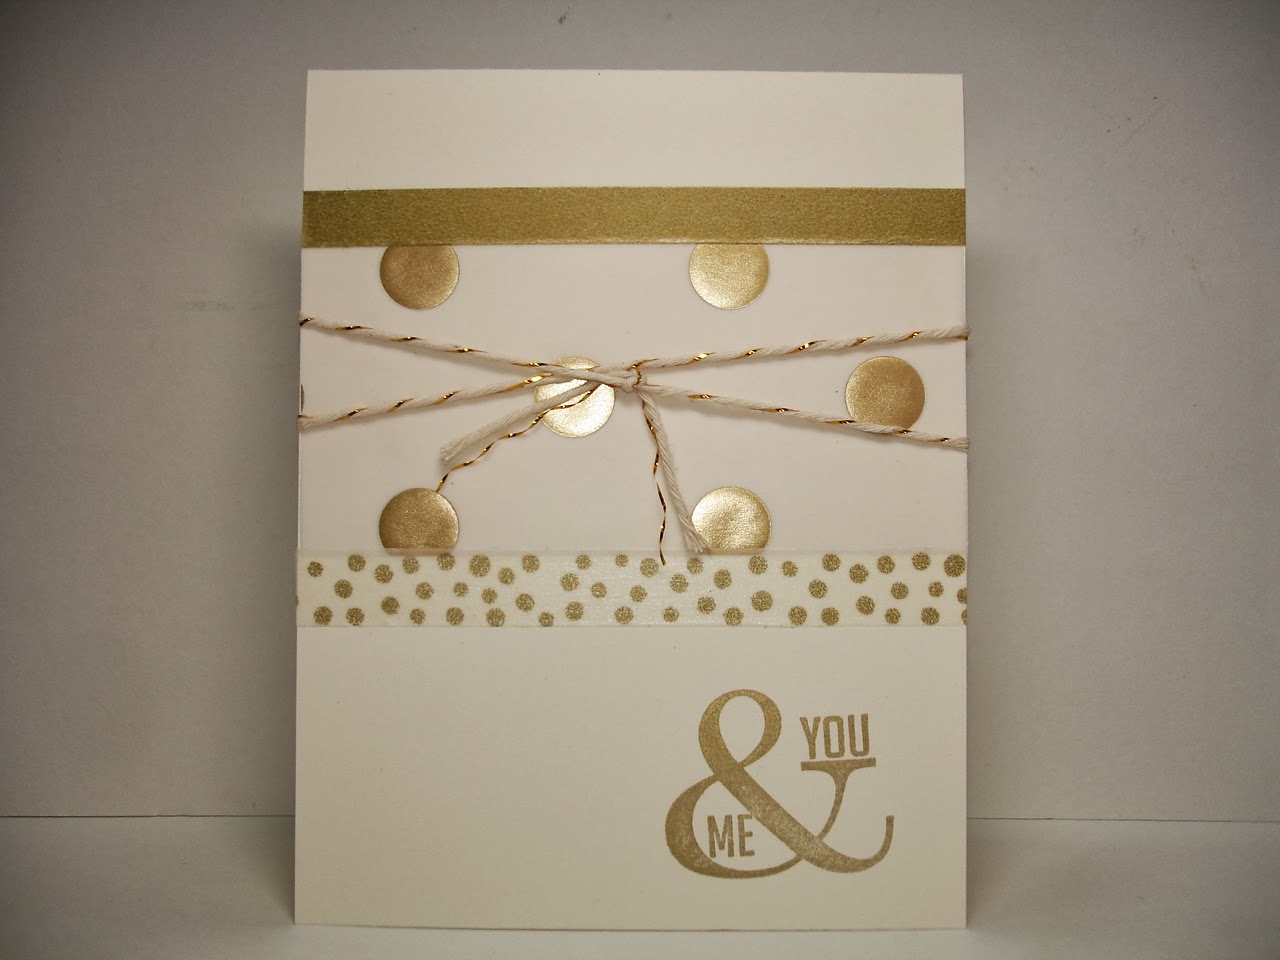
Hi there!  Hope it's warming up where you live.  It's supposed to get up into the 40's today, so I'll be getting out to run some errands.  But first, let's talk about the above card that was displayed on our Card Buffet this past Saturday.  The narrow strip on the left side is a piece of Sweet Sorbet Designer Series Paper.  Love this DSP!  You can get it FREE until March 31st with a $50 Stampin' Up! purchase (before tax and s/h).  The other piece (under the sentiment) was stamped with images from the Petal Parade set (another SAB freebie).  They are so similar (except for the black specks), that the ladies at the Buffet were looking for another piece of DSP in their kit.  Speaking of the sentiment, it is called Geometrical and can be found in the Occasions catalog.  Love this, too!  Another Sale-A-Bration freebie is the twine that comes in the Sweet Sorbet Accessory Pack.  This twine is a little thicker than our Baker's twine.  You also receive a spool of Pool Party twine and cork embellishments in the pack. 
Normally, I don't stamp the inside of my cards or round the corners.  This time I did and below is the result.  What do you think?

That's it for now.  Thank you for stopping in for a look today!

All Stampin' Up! supplies used unless otherwise noted. 
Stamps: Petal Parade (2014 Sale-A-Bration freebie), Geometrical (sentiment – cheer up Buttercup) 
Paper: Cantaloupe Crisp, Black, White, Sweet Sorbet DSP (2014 SAB freebie) 
Ink: Cantaloupe Crisp, Pistachio Pudding, Summer Starfruit, Black StazOn 
Tools:  Corner Chomper (non-SU) 
Other:  Crisp Cantaloupe twine & Summer Starfruit twine (Sweet Sorbet Accessory Pack - SAB freebie), Dimensionals, clear block

Tuesday, March 4, 2014

Hi there!  Today is Tuesday and you know what that means....new Weekly Deals!  Click here for the  Mar 4 - 10 deals.  Please contact me if you would like to place an order.  Just click on my photo in the right side bar for my contact information OR you may place an order online.  (You'll need to create an account, if you don't already have one.)   Thanks!